Soapmaking certainly wasn’t a new thing in 2012, but it was to me. I was fascinated - if fairly skeptical - that soap could actually be made at home. After reading several blogs and watching a few videos, I decided to give it a try. It wasn’t an easy decision, because all the tutorials I read and watched would scare most sane people from using lye. The term tossed out there often was, “volcanoing”. Adding lye to water was fine, but adding water to lye could cause this caustic material to erupt out of the container – causing severe burns and blindness! Why would anyone do this?! However, it was clear that it somehow could be done without causing complete havoc, so I went forward, ordered a kit, and got to work!
Safety was my number one priority. I gutted my kitchen of any unnecessary paraphernalia and covered everything in plastic sheets. I was clothed head to toe, wore gloves and goggles, and was ready to begin the process.

The kit and wooden mold I purchased was enough to make sixteen 1” wide bars of soap. It included a large bag of Calendula petals to make an olive oil infusion, which would be combined with other hard and liquid oils to make the soap. When it came time to make the dreaded lye/water solution, I brought everything outside and was incredibly cautious to not splash any and make the soap gods angry. Once combined, the temperature reading was a shocking 200° F! I left it outside to cool to “only” 130°.
While everything was heating/cooling to the ideal temperature, it was time to line the wooden mold with freezer paper. There were several steps to this part which turned out to be an advanced lesson in Origami.

Once the calendula petals were strained and everything was ready, it was time to make the soap! Using an immersion blender, I carefully poured my lye solution into the melted oils and began to blend. Within 15-20 seconds, the batter took on a light, pudding-like consistency (known as “trace” in the soapmaking world) and it was ready to pour into the mold.
Once all poured, the soap was covered with a wooden top and the whole thing wrapped in towels for insulation. Now was the hardest part – waiting. The soap needed rest, undisturbed, for 24 hours. Having no patience, it was agonizing – I wanted to see the final result! When the time finally came, I removed the soap from the mold, took off the freezer paper, and cut the bars.
I made soap!!
Pushing my self-discipline to the limits, I waited it out and when it FINALLY came time, I used the first bar.

Though no scent was added, it seemed to have a natural aroma which was quite pleasant. It also felt so different on my skin from the “soap” purchased at the grocery or drug store. I loved it! It was amazing to me that I had taken fats, water, and lye and transformed them into something new, that was not only fun to make but also something practical and useful, which I could share with others!
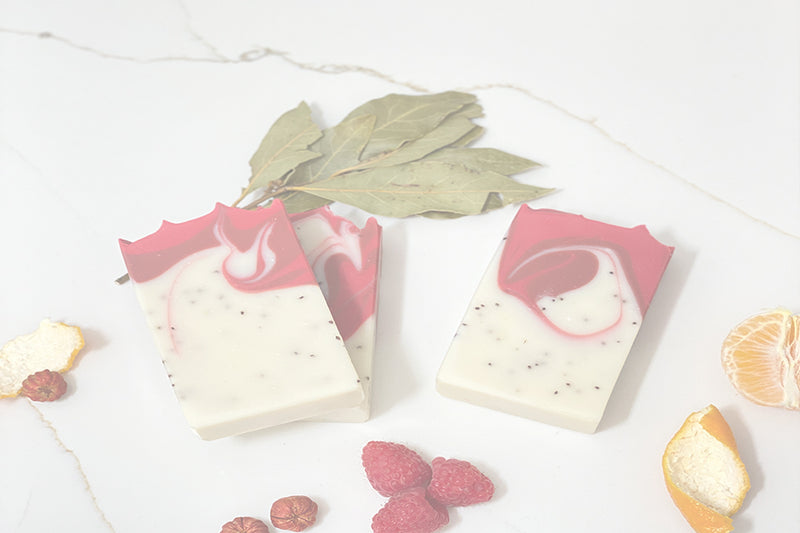
It would be several years before I made soap again - and when I did, I was hooked! Soapmaking commonly becomes an obsession to many who try it. I’ve seen it all too often and I was no exception. The more I learned, the more I made. My deeper understanding of the science behind it opened up a world of creative possibilities that included color, scents, extracts, clays, and more intricate designs. I still battle with impatience but I also still make safety a top priority which is why I still - fortunately - have never had to battle a volcano.